- June 1, 2023
- admin
- 0
Confirm Installation Schedule:
- Contact the installation company to confirm the start date and estimated duration of the installation.
- Verify if the installation team is on track and make any necessary adjustments if needed.
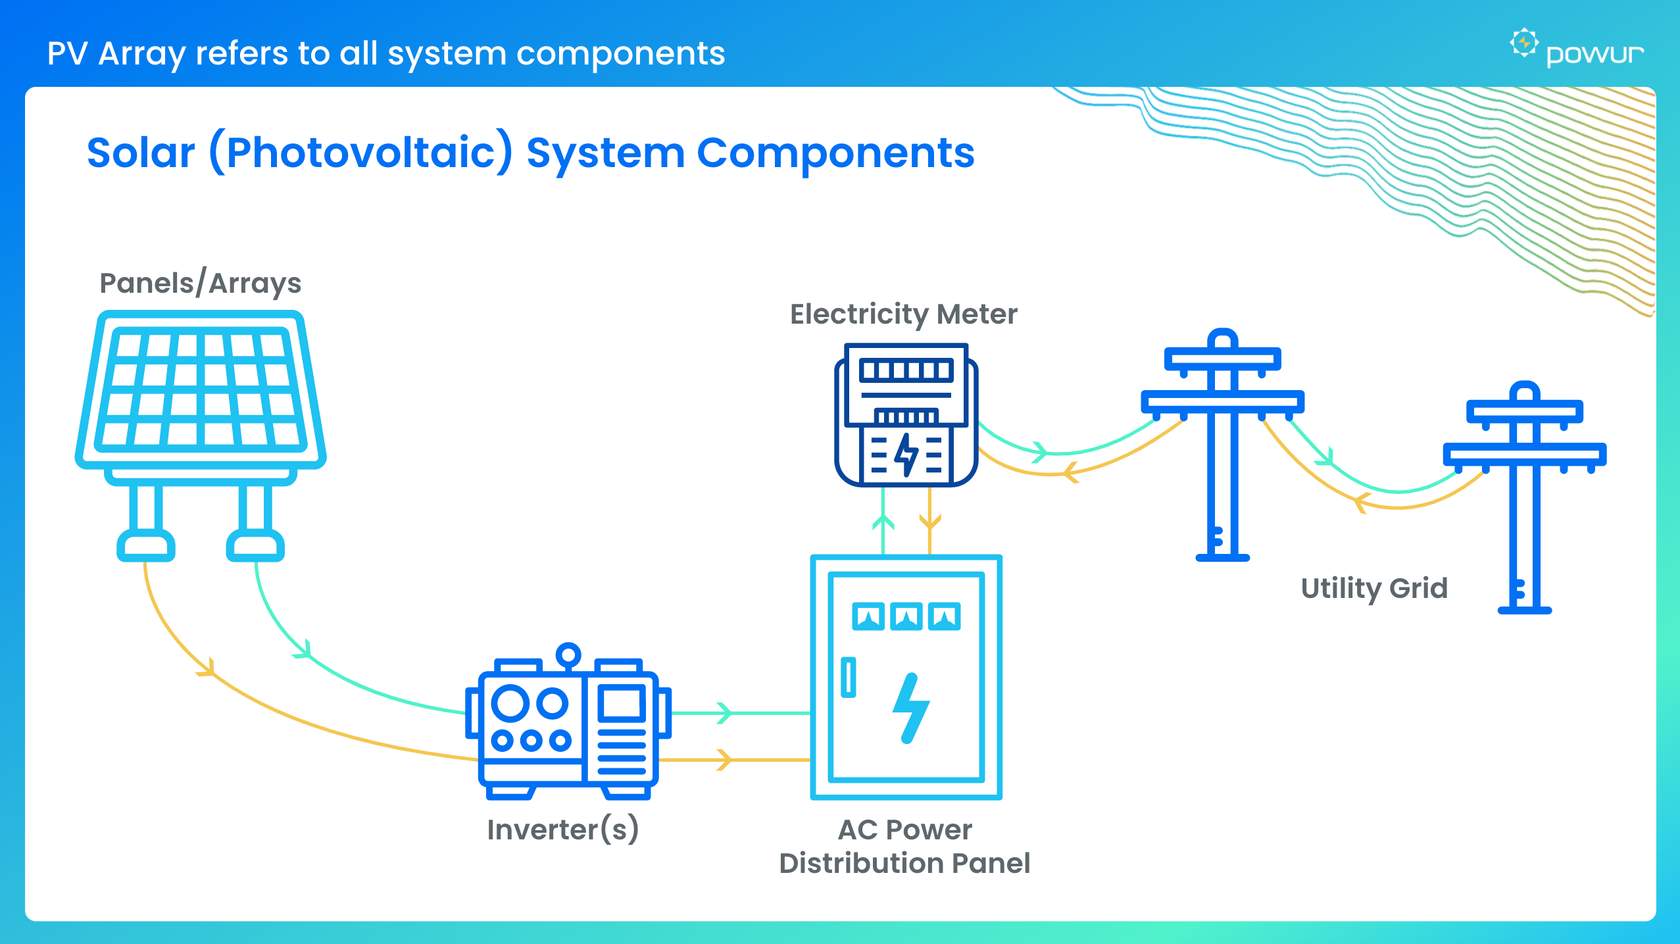
Validate Brands and Components:
- Inquire with the installation team about the brands and models of solar panels, inverters, and other components being used.
- Cross-reference this information with your initial discussions and agreements.
Maintain Communication with the Installation Team:
- Stay in regular contact with the installation team to receive updates on the installation’s progress.
- Address any questions, concerns, or changes that may arise during the installation process.
Monitor Progress:
- Monitor the installation’s progress either on-site or through remote monitoring systems, if available.
- Ensure that the installation team adheres to the agreed-upon plans and specifications.
Verify Proper Installation:
- Confirm that the installation team is following proper installation procedures and safety protocols.
- Verify the correct installation, secure mounting, and proper connection of all components.
Capture Before Images:
- Request before images of the installation site, roof, and surrounding areas from the installation team.
- Document these images for your records to showcase the condition before installation.
Coordinate Inspections:
- Collaborate with the installation team to schedule necessary inspections and approvals from local authorities or utility companies.
- Obtain all required permits and inspections to comply with regulations.
Document Installation Details:
- Keep a comprehensive record of the installed system’s specifications, including components used and any adjustments made.
- Note any changes or modifications made during the installation process.
Understand Warranties:
- Discuss the warranties for solar panels, inverters, and components with the installation team.
- Obtain copies of warranty certificates and familiarize yourself with the terms and conditions.
Capture After Images:
- Request after images of the installed solar panels and components from the installation team.
- Retain these images as evidence of the completed installation and system’s condition.
- Finalize the Installation:
- Conduct a final walkthrough with the installation team to inspect the finished installation.
- Identify and address any visible issues, such as loose connections, damaged panels, or incomplete work.
- Gather Documentation:
- Collect all relevant documents including permits, contracts, warranties, and invoices.
- Organize and store these documents for future reference.
- Review the Final Invoice:
- Carefully review the final invoice provided by the installation company.
- Ensure that the charges align with the agreed terms and pricing, seeking clarification for any discrepancies.
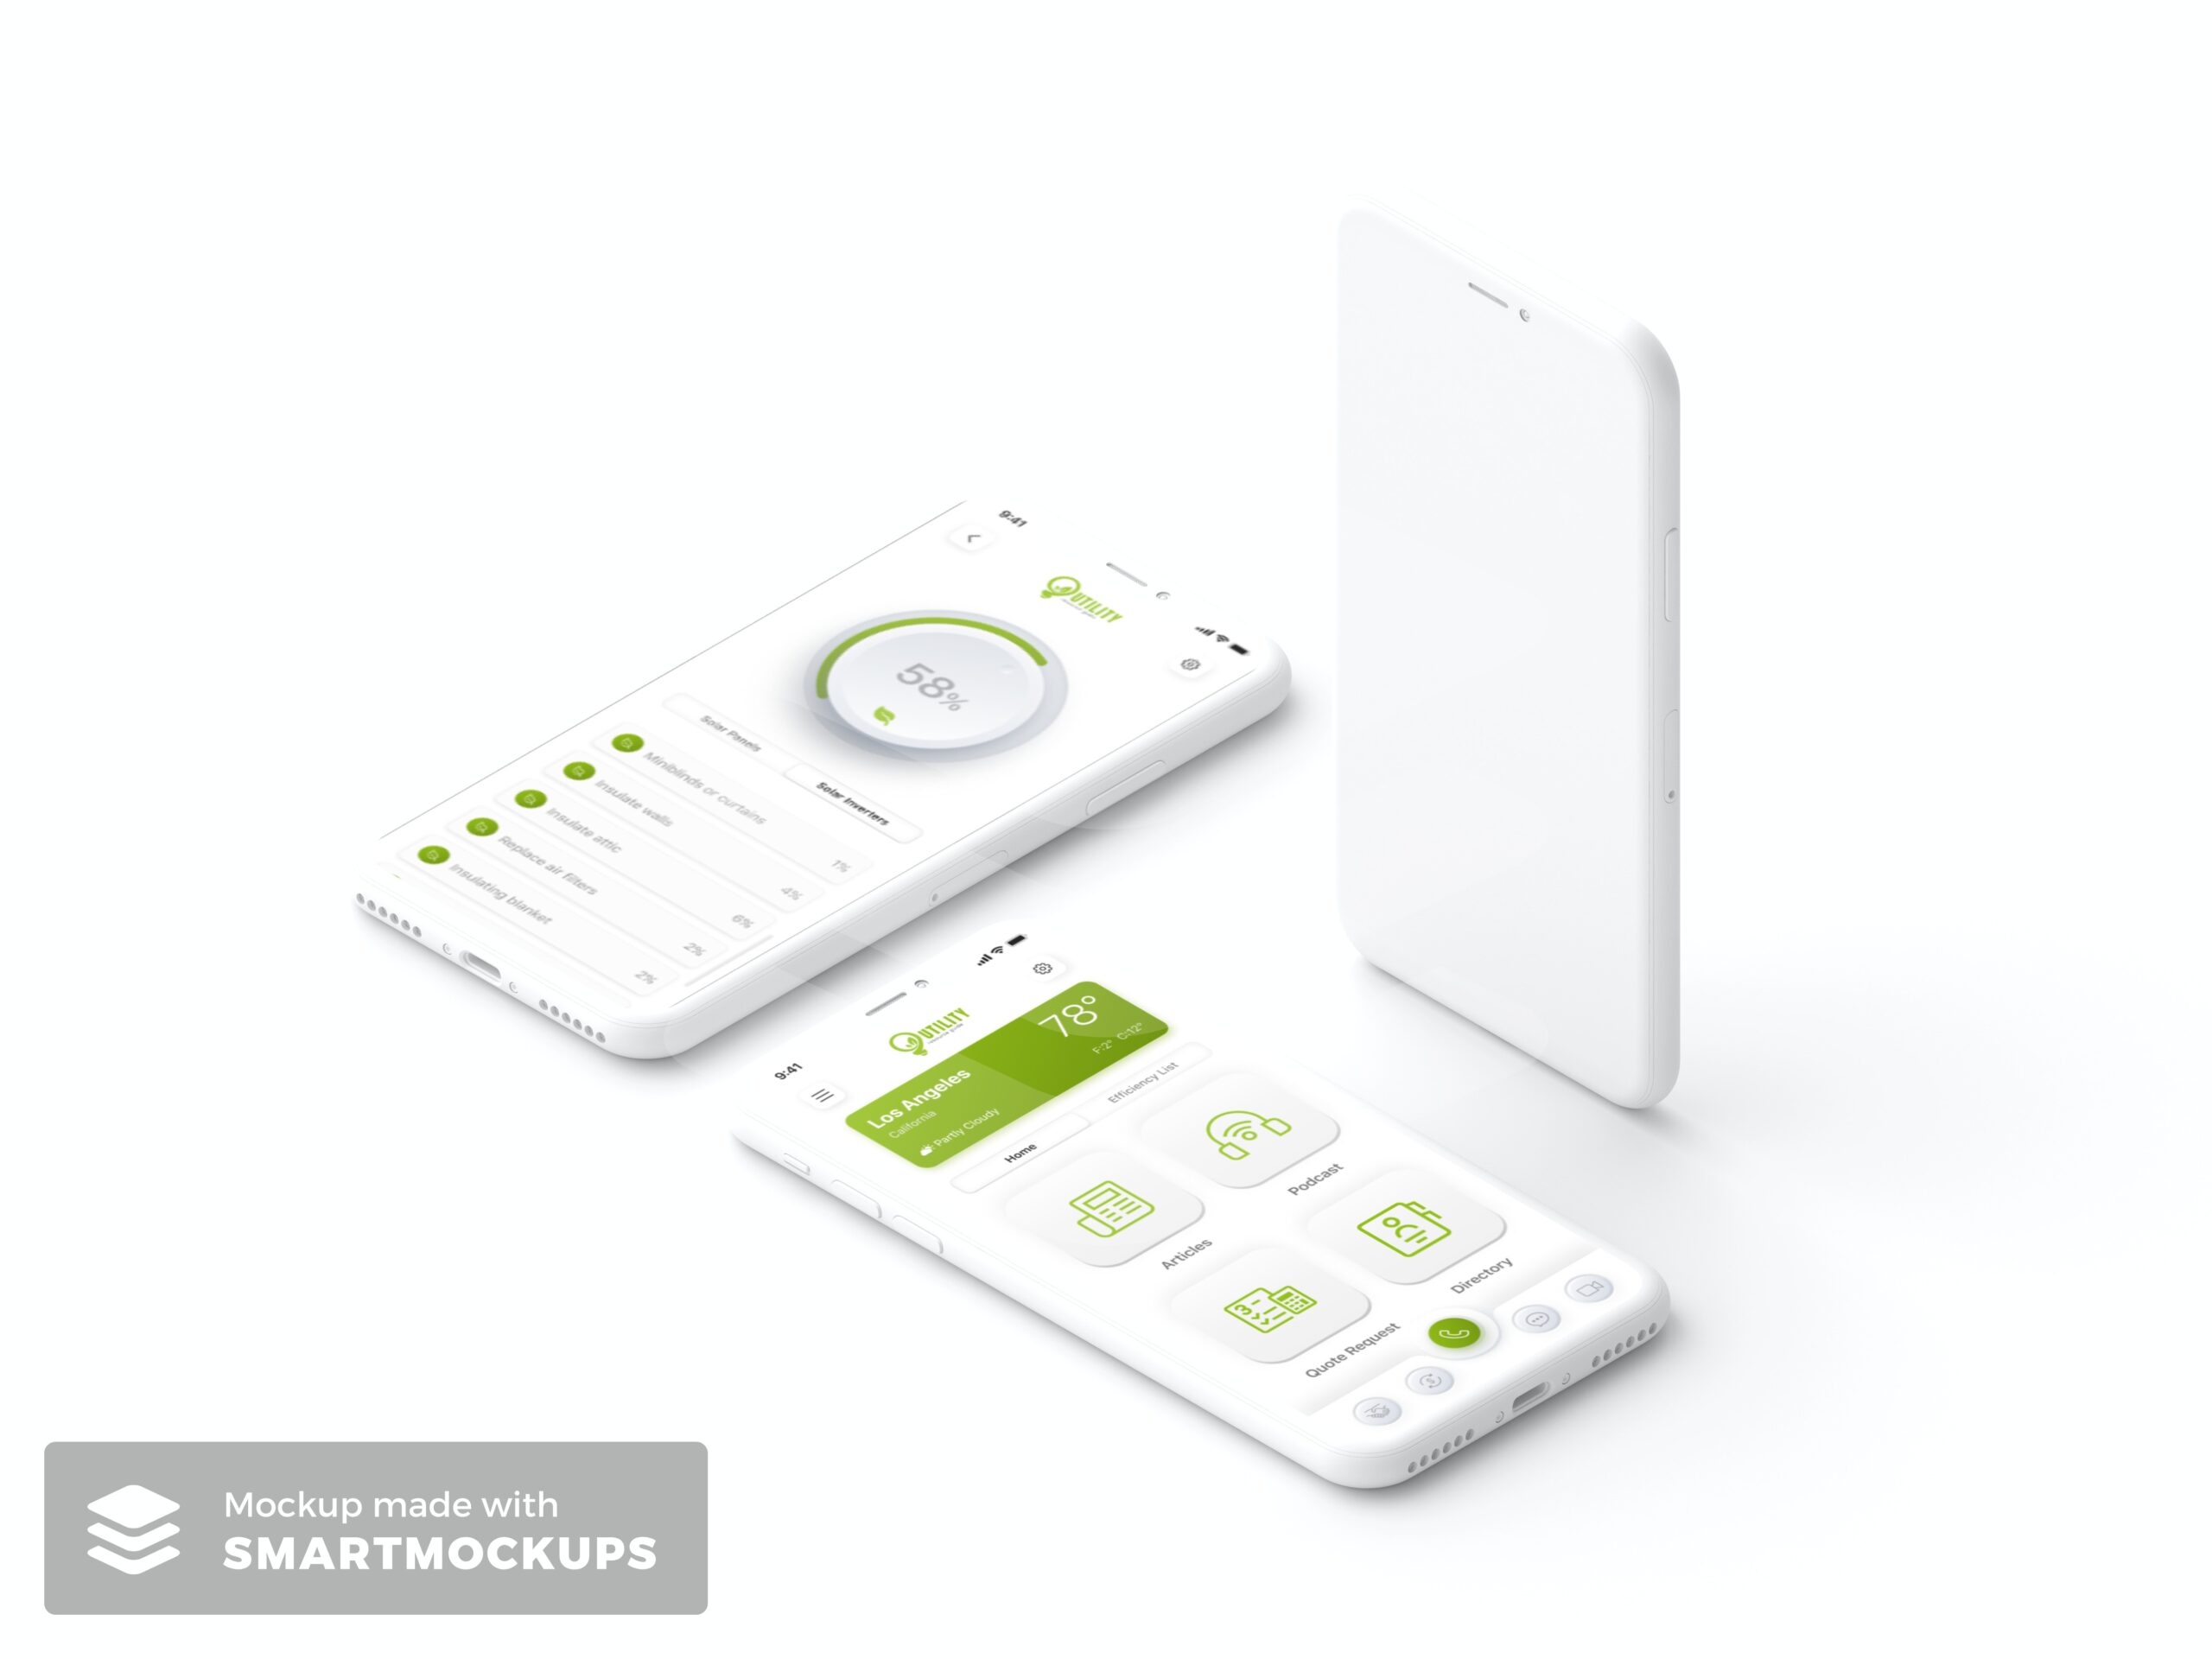
- Receive Training and Handover:
- Request training on monitoring and maintaining the solar system from the installation team.
- Obtain necessary login information for online monitoring platforms and learn how to interpret performance data.
- Provide Feedback:
- Share your feedback and experience with the installation company.
- Offer constructive feedback for improvements and commendation for areas of excellence.
Remember to document and photograph any concerns during the installation process, and maintain all documentation, warranties, and images securely.